将 Giscus 评论插件添加到博客
博客没有评论区?来试试 Giscus 吧!
AI 摘要· gpt-5-nano
本文介绍了如何在博客中接入 Giscus 评论区,包含在博客仓库或专用仓库存放、获取并粘贴 JS 代码、将评论区嵌入特定页面与页面模板中的具体实现,以及 origin 配置与简单的反垃圾思路。
前言
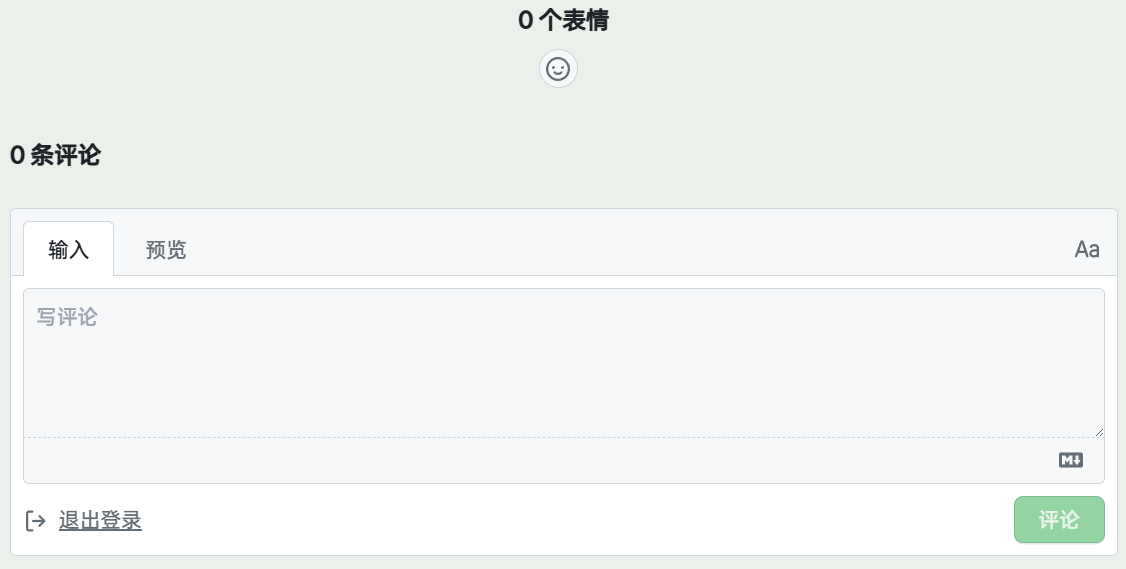
如果你的静态博客没有评论区,又不想自己搭建一个评论系统,那么 Giscus 就是一个不错的选择。
接下来就手把手教你添加这个插件并配置它。
需求
- 一个 GitHub 账号。
配置 Giscus
在博客仓库存放评论
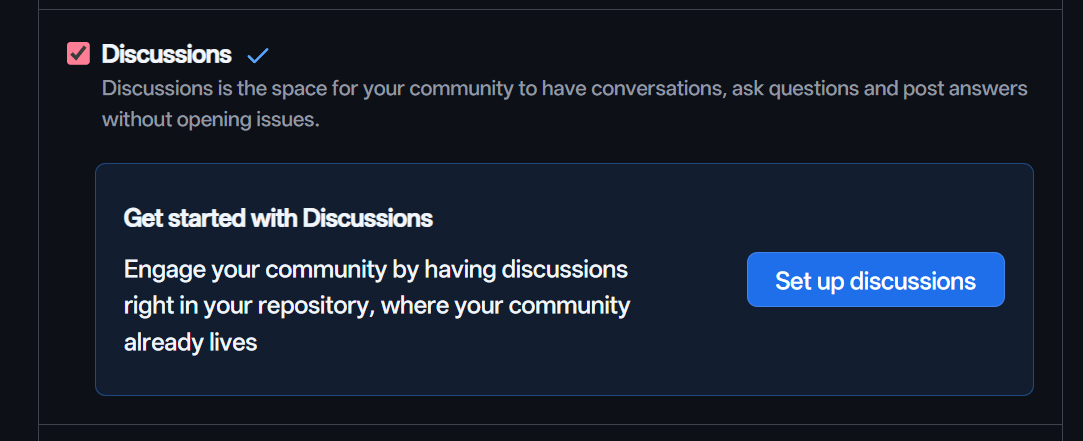
- 打开 GitHub 上你博客的仓库地址,点击顶部 Settings(设置),拉到 Features(功能),选择 Discussions 前面的小方格,点击一下,打开 Discussions 功能。等到出现一个小勾即代表开启了 Discussions 讨论功能。
- 点击打开 https://github.com/apps/giscus ,选择带色按钮 Install ,将其安装在你的 GitHub 个人账户中(如果你博客仓库在别的组织,请选择安装到组织)。
- 安装完毕,可以跳到 #获取专用代码 查看需要插入的 JS 代码了。
在专用仓库存放评论
- 打开 https://github.com/new ,创建一个新的仓库。
- 在新仓库内,点击顶部 Settings(设置),拉到 Features(功能),选择 Discussions 前面的小方格,点击一下,打开 Discussions 功能。等到出现一个小勾即代表开启了 Discussions 讨论功能。
- 点击打开 https://github.com/apps/giscus ,选择带色按钮 Install ,将其安装在你的 GitHub 个人账户中(如果你博客仓库在别的组织,请选择安装到组织)。
- 安装完毕。
获取专用代码
打开 https://giscus.app/zh-CN ,在其页面进行必要的配置:
- 语言:如果你的博客不搞 i18n 国际化,那我推荐选择 简体中文(博客使用的语言)。反之推荐选择 English。
- 仓库:如果你选择上面第一种方案(在博客仓库内),那么就填写你博客仓库地址(以
用户名/仓库名形式填写,填你自己的。比如Ad-closeNN/blog-fuwari)。如果是新的专用仓库,那么就填写新的专用仓库地址,格式同理。成功了为如图所示: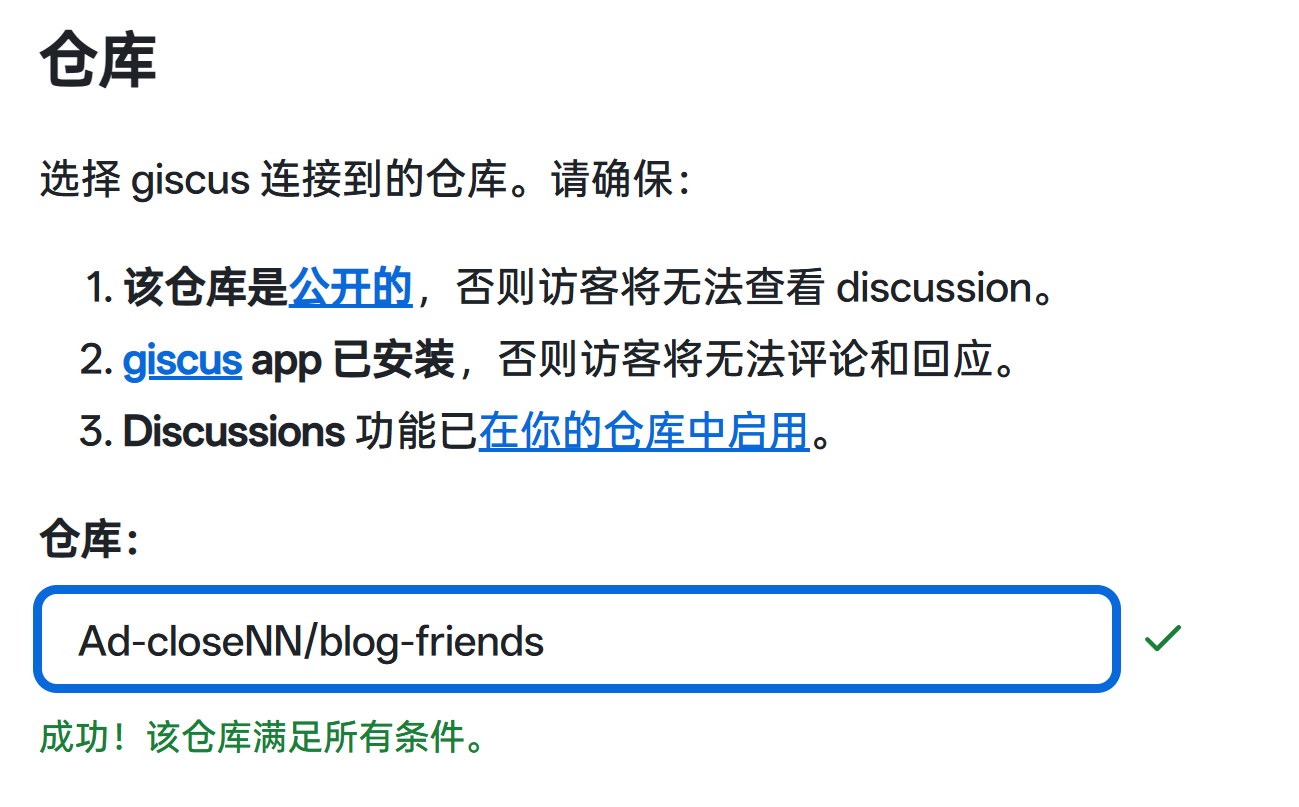
- 页面 ↔️ discussion 映射关系:这个有说法。如果你博客没有很多重复标题的页面,且不更换文章标题,推荐选择 Discussion 的标题包含页面的
<title>,这将会以页面标题 -或/或其他分隔符 网站名为 title 开一个新讨论。如: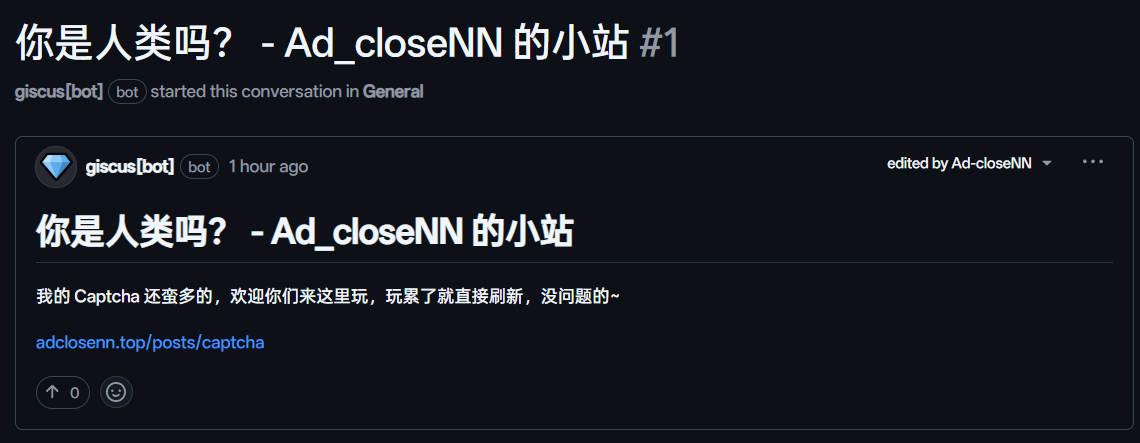 其他如
其他如 pathname,将会把/post/xxx显示出来。但是显示效果(特别是中文路径)可能没那么好?
参考&图片原出处: https://www.2x.nz/posts/you-is-me-huh/
- Discussion 分类:推荐选择 General。如果你只想让访客在博客发布评论,就选择 Announcements。这样即使能在 GitHub 看到评论,也无法直接在 GitHub 回复,必须在博客的评论区内回复。没啥用,不如 *General。
- 特性:推荐启用
启用主帖子上的反应(reaction)将评论框放在评论上方懒加载评论。 - 其他无关紧要的请自行配置。
配置完成后,将会获得一串独特的 JavaScript 代码(例如下面的)。将其复制下来:
<script src="https://giscus.app/client.js" data-repo="Ad-closeNN/blog-friends" data-repo-id="R_kgDOPb5ZJw" data-category="Announcements" data-category-id="DIC_kwDOPb5ZJ84CuPmR" data-mapping="title" data-strict="0" data-reactions-enabled="1" data-emit-metadata="0" data-input-position="top" data-theme="preferred_color_scheme" data-lang="zh-CN" data-loading="lazy" crossorigin="anonymous" async></script>插入代码
打开 src/pages/posts/[..slug].astro,在最下方的 </MainGridLayout> 的上面插入你在 Giscus 复制的 JavaScript 代码:
<a href={entry.data.prevSlug ? getPostUrlBySlug(entry.data.prevSlug) : "#"} class:list={["w-full font-bold overflow-hidden active:scale-95", {"pointer-events-none": !entry.data.prevSlug}]}> {entry.data.prevSlug && <div class="btn-card rounded-2xl w-full h-[3.75rem] max-w-full px-4 flex items-center !justify-end gap-4"> <div class="overflow-hidden transition overflow-ellipsis whitespace-nowrap max-w-[calc(100%_-_3rem)] text-black/75 dark:text-white/75"> {entry.data.prevTitle} </div> <Icon name="material-symbols:chevron-right-rounded" class="text-[2rem] text-[var(--primary)]" /> </div>} </a> </div>
<!-- 上面是你的其他原本的代码 --> <!-- 评论区在这 --> <script src="https://giscus.app/client.js" data-repo="Ad-closeNN/blog-friends" data-repo-id="R_kgDOPb5ZJw" data-category="General" data-category-id="DIC_kwDOPb5ZJ84CuPmR" data-mapping="title" data-strict="0" data-reactions-enabled="1" data-emit-metadata="0" data-input-position="top" data-theme="preferred_color_scheme" data-lang="zh-CN" data-loading="lazy" crossorigin="anonymous" async> </script></MainGridLayout>放在这个文件 src/posts/[..slug].astro 内,仅仅只有 /posts/ 下的文章拥有评论区。
如果你需要在特定的页面(比如 /about/ )中使用 Giscus,仅需打开和 Markdown 同名的文件(如 /about/ 的 Markdown 文件是 about.md)如 src/pages/about.astro,用刚才的方法插入 Giscus 代码即可实现特定页面拥有 Giscus 评论区。
---13 collapsed lines
import { getEntry, render } from "astro:content";import Markdown from "@components/misc/Markdown.astro";import I18nKey from "../i18n/i18nKey";import { i18n } from "../i18n/translation";import MainGridLayout from "../layouts/MainGridLayout.astro";
const aboutPost = await getEntry("spec", "about");
if (!aboutPost) { throw new Error("About page content not found");}
const { Content } = await render(aboutPost);---<MainGridLayout title={i18n(I18nKey.about)} description="关于"> <div class="flex w-full rounded-[var(--radius-large)] overflow-hidden relative min-h-32"> <div class="card-base z-10 px-9 py-6 relative w-full "> <Markdown class="mt-2"> <Content /> </Markdown> </div> </div>
<br> <!-- 评论区 --> <script src="https://giscus.app/client.js" data-repo="Ad-closeNN/blog-friends" data-repo-id="R_kgDOPb5ZJw" data-category="General" data-category-id="DIC_kwDOPb5ZJ84CuPmR" data-mapping="title" data-strict="0" data-reactions-enabled="1" data-emit-metadata="0" data-input-position="top" data-theme="preferred_color_scheme" data-lang="zh-CN" data-loading="lazy" crossorigin="anonymous" async></script></MainGridLayout>配置网站源 Origin
参考:https://github.com/giscus/giscus/blob/main/ADVANCED-USAGE.md#origins
如果你的博客是开源的,那么有些人可能会直接 Fork 你的博客仓库,转为自己用。
这时候如果那人不会配置评论区,那么有意思的来了,他发的评论会直接到达你 Giscus 配置的仓库,而不是在他仓库。
所以我们可以配置一个 giscus.json 在你 Giscus 设置的仓库 的根目录(如我在上面 #在专用仓库存放评论 中设定了仓库为 Ad-closeNN/blog-friends,那就去到这个仓库),新建一个文件 giscus.json,例如:
{ "origins": ["https://adclosenn.top"] // 这个域名填你自己的}配置好后,本地开发环境(localhost) 和除你设定之外的域名将会直接被 Giscus 切断评论区的连接: 
反垃圾评论
一般来说不会有人无缘无故就对你的文章评论区发布脑残、降智、虚假的评论,因为 Giscus 的评论需要通过 GitHub 授权登录才能发布,所以这算是一个初级发布门槛。
如果真的有,那么确实很不幸了。你可以通过删评论的方法解决。
也可以通过 配置 Akismet 等来实现自动化反垃圾评论。但是 Akismet 的效果据说十分鸡肋。